Pierce 3D
Jun 2024
After 8th grade graduation, a few friends and I decided to preserve some memories of our old school, before its renovation. We took over 4,500 photos of the school from the ground and with drones before it was demolished, and processed the images using a method called photogrammetry, which recreates a 3D model from lots of images. That model was used to create a physical 3D print scale model of the entire campus, including the parks and amphitheater. The model is also hosted online, which you can view as a demo on this website by clicking on the link below.
Photo Collection
Sometime during my eighth grade year, plans for demolishing the school were finalized, and it was to be replaced with a new and modern building. This was long overdue, but it was still sad to hear about, as I had spent 9 years going to school at Pierce. Early that summer, one of my friends, Nate Rubenstein, had the idea to go back to the school and take some photos of it, just before they started the demo work. We planned to meet up and take the pictures, along with one other friend, Adam DiMicco. We also had the idea to use a process called photogrammetry after we had taken the photos, which I'll go into our use of later in this blog. The main reason we thought this was an interesting idea was that the Pierce campus is pretty big, as K-8 schools go, and had multiple buildings, an amphitheater, a few bridges, and two parks and playgrounds (one for grades K-2).
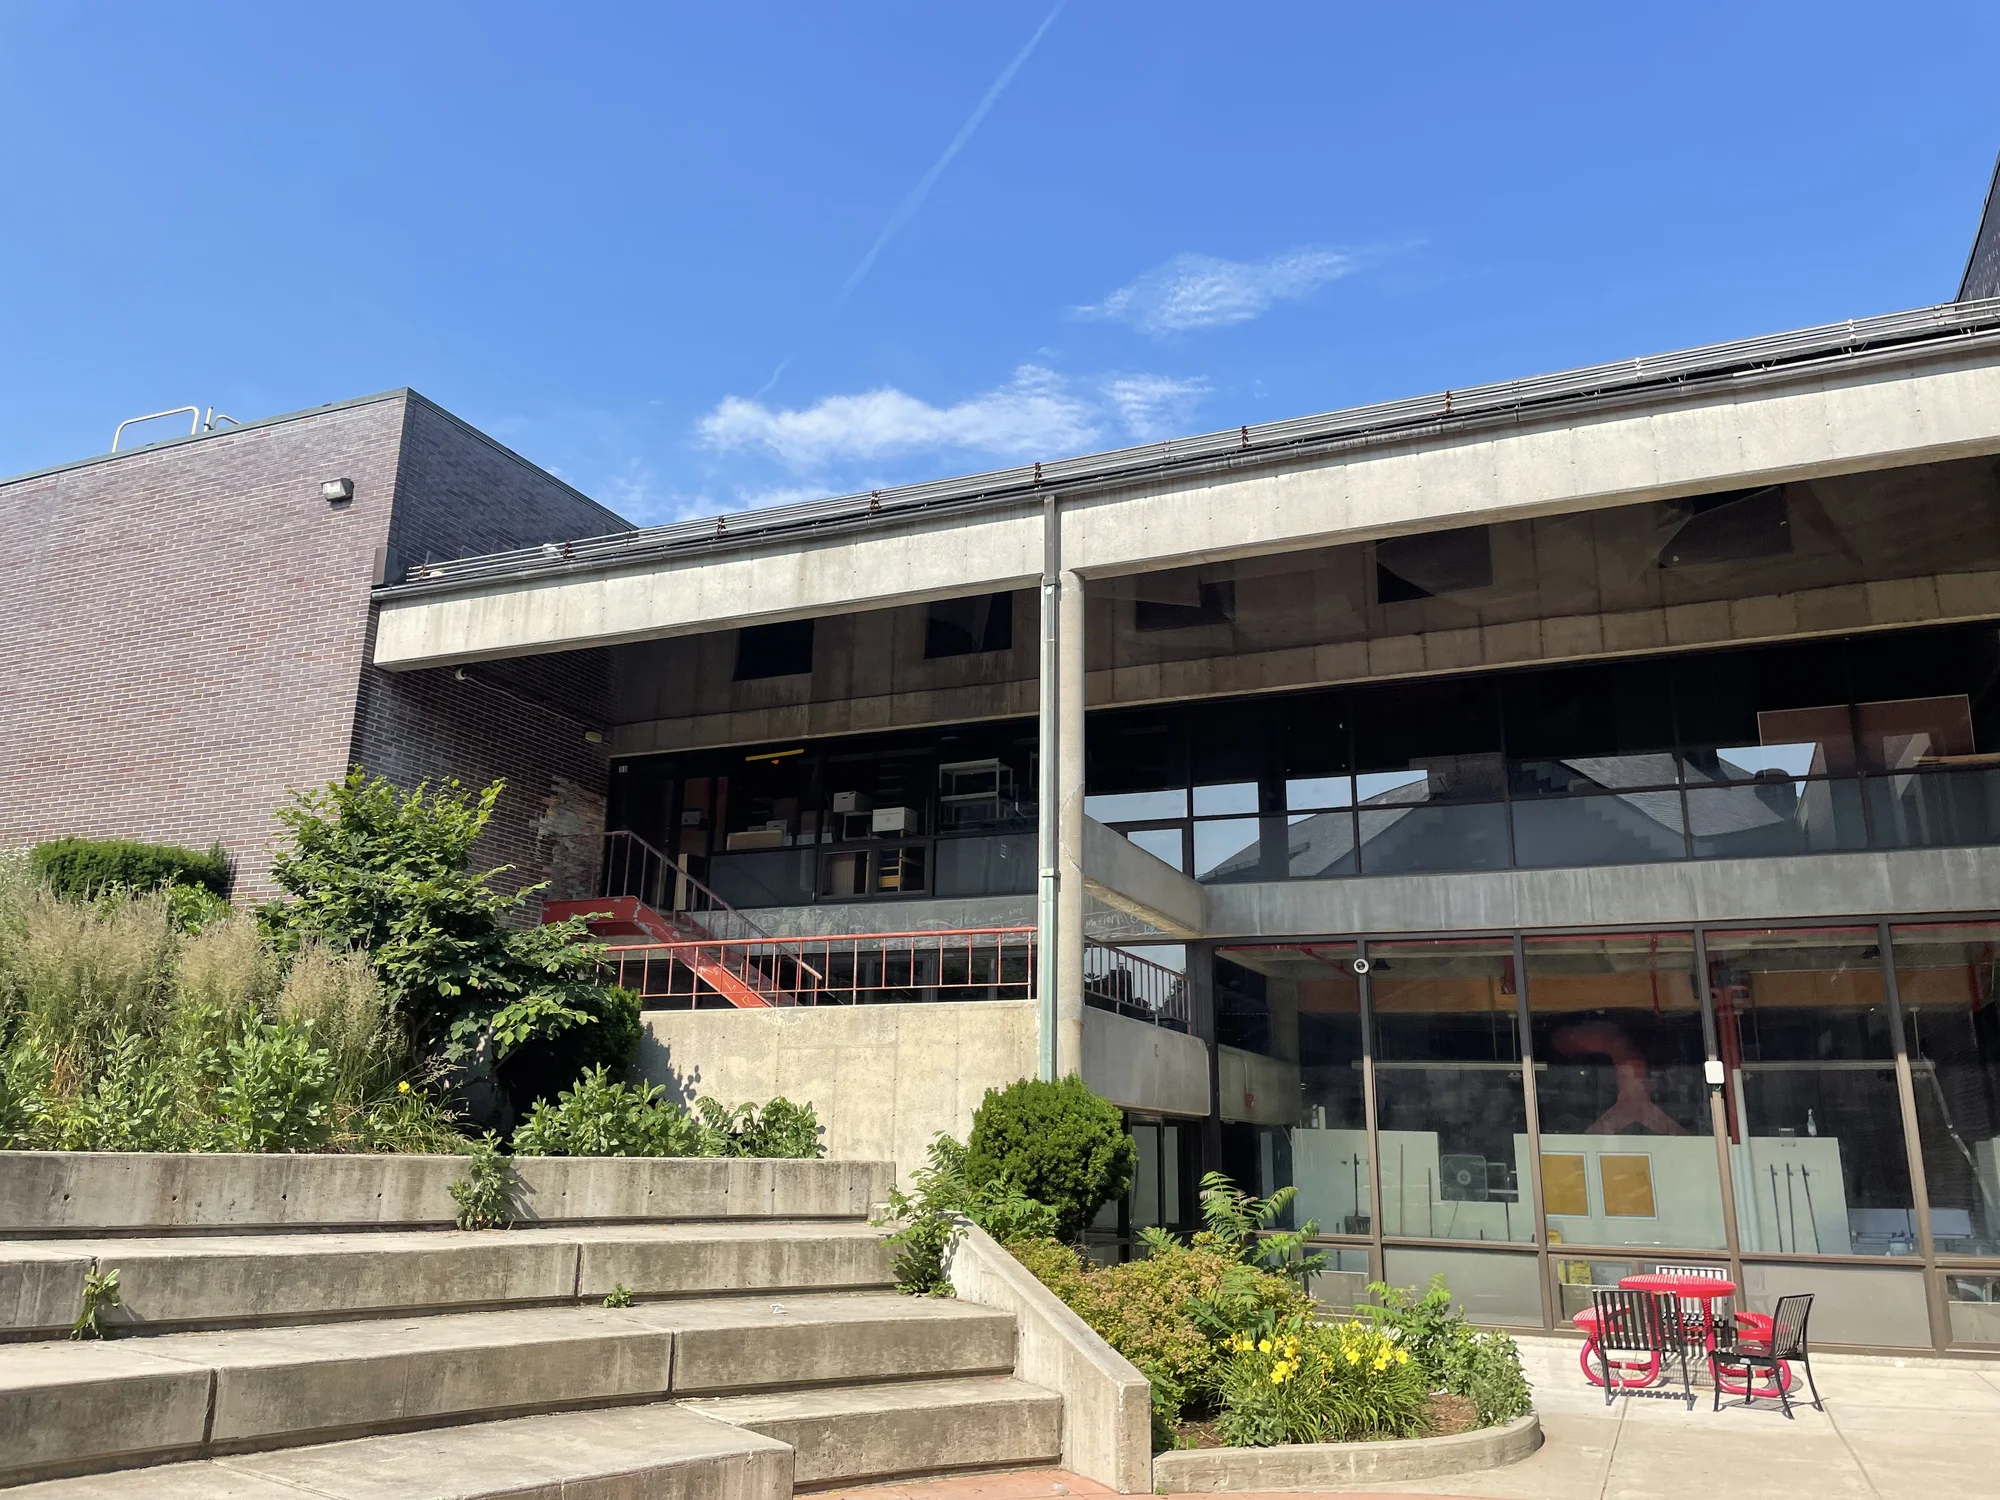
Example photo of the amphitheater
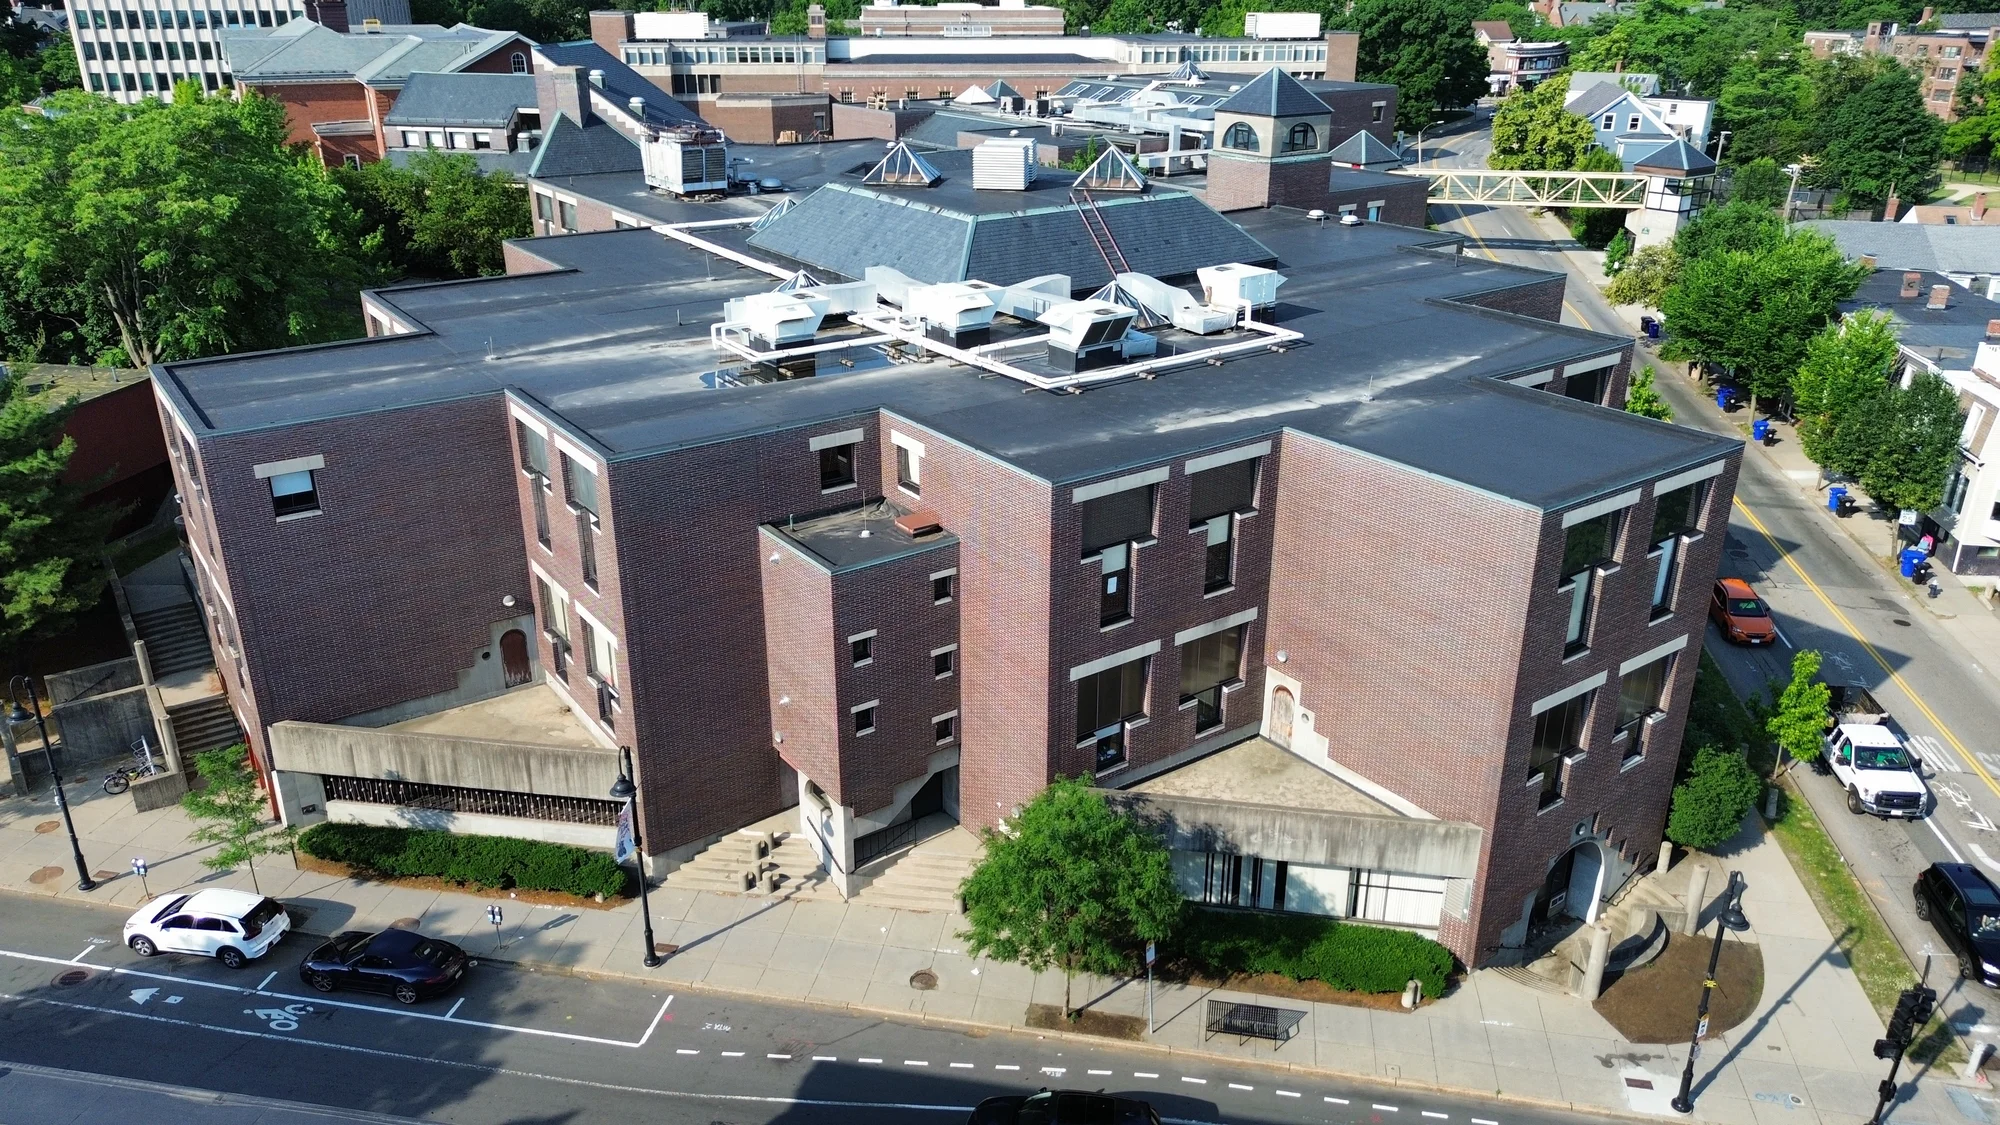
Example photo of a Pierce building
We met at the park, and only planned to stay for a few hours. Both Nate and I brought our drones, and Adam used a camera from the ground. We took as many photos as we could, and ended up with quite a few images of the outside of the buildings. After going back to one of our houses, we reviewed the photos, and decided we would go back the next day to capture even more images. We tried to focus that day on spots we did not get enough of the first day, and on the park and playgrounds. In total, we ended up with almost 5,000 photos of the area, with each one overlapping with the others significantly, which we needed in order for the next steps to work.
Photogrammetry
At this point, we had all the photos we needed, and went back to my house to try to process the images. Our goal was a 3D model of the campus, created through the use of photogrammetry. The idea of this process is instead of using traditional sensors to measure distance, you can use images to recreate a 3D mesh, based on similar features in each image. This means that with enough overlap between each image, you can determine exactly where each photo was taken from, allowing you to make a quite detailed 3D mesh.
While I make most of the following steps sound like they weren't too bad, I am mainly glossing over the amount of effort it takes to work with 24 gigabytes of images, and multiple gig large files generated almost every step of the way.
We attempted this using Agisoft Metashape, a commercial photogrammetry program (that has a 30 day free trial!), which, after a few hours of processing, gave us a model! The initial mesh had a few errors, but by selective culling of images, that incorrectly matched with others, we could refine the result. One example of this was two identical handicapped signs, that were in completely different spots, but the program "thought" that they were from the same location, which makes it align the images (that were from different spots), to the same spot. This happened a few times in different spots, like what is seen below, but it was relatively easy to fix. Once we had a model we were happy with (which took a few weeks to get right, after 3 rounds of image culling and many days of processing time), we were ready to work on some ways for others to be able to see the work we had done.
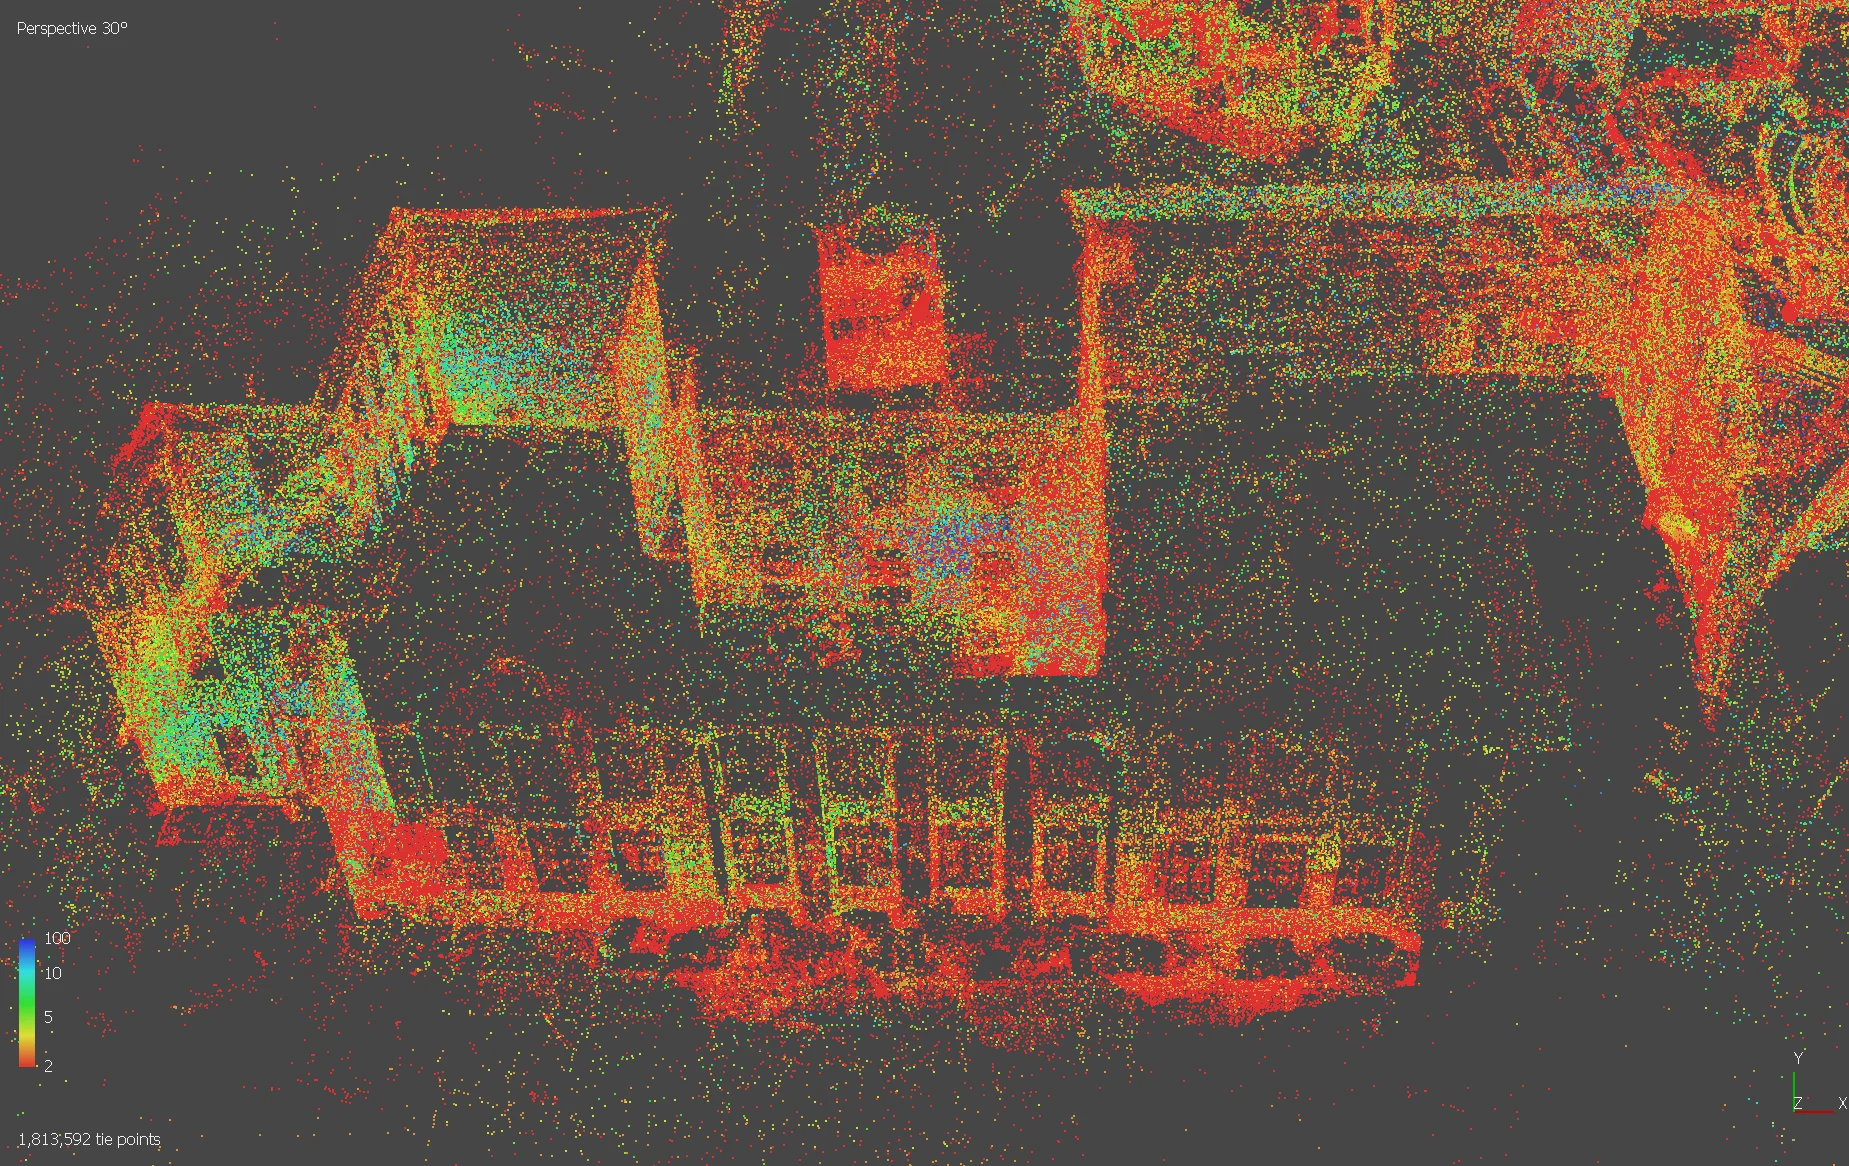
Point cloud analysis of the Historical Building
Pierce Explorer
With the model made, one of our main goals was to get a digital version of it online, so anyone could see it. We used the Unity Game Engine to create a program, which allows a user to fly around (with controls similar to the video game Minecraft). This took a while to get working, as although it was a simple project, working with 2-6 gig models is a pain. Once we had the game functional, we tried to get it online, ideally embedded in a webpage. We did this by making a WebGL build of the Unity game (essentially a way to get the game online), but it was extremely difficult to find a way to host it (as I had almost no experience with hosting my own site). Itch.io was a promising option, as it allowed for WebGL builds to easily be uploaded, but it had a relatively low file size limit. We were able to upload a version of it here, but never found a way to host the full quality version of the explorer (and at this point the engine started to act weirdly, so I decided to move on).
3D Printing
At the same time, I was working on a 3D printed version of the campus. The photogrammetry process generated a 3D mesh file, which is similar to the ones used by 3D printers, so with some cleanup work it would be possible to print. For the large scale things, like closing the mesh to make an actual object, I used Blender (mainly for its speed at doing things like these). I also took the chance to delete any floating/detached objects (mainly parts of railings and bits of trees), so I had a single, solid model. It also had an extreme amount of detail, most of which I figured would not come across well in the print, so I simplified it slightly before the next step.
I then imported to model into Nomad Sculpt (a 3d sculpting program, specialized for meshes like this one), and did a voxel remesh. This essentially fully recreates the model geometry and takes out any small holes or other blemishes that the printer's slicer would not work well with. I smoothed out the harsher parts of the model, and added a plate with some text and the year. I also worked on a single-color design of just the Historical Building (the much older and original Pierce School building). After the final cleanup was done, I sliced them (converted the 3D model into instructions for my printer), and they were ready to print!
While I had no intention of making these models to a specific scale, I thought it would be interesting to know what scale they were, so I calculated it using calipers on the print and measured the same distance in Google Earth. The full campus model is about 1:1500, or one centimeter to 15 meters.
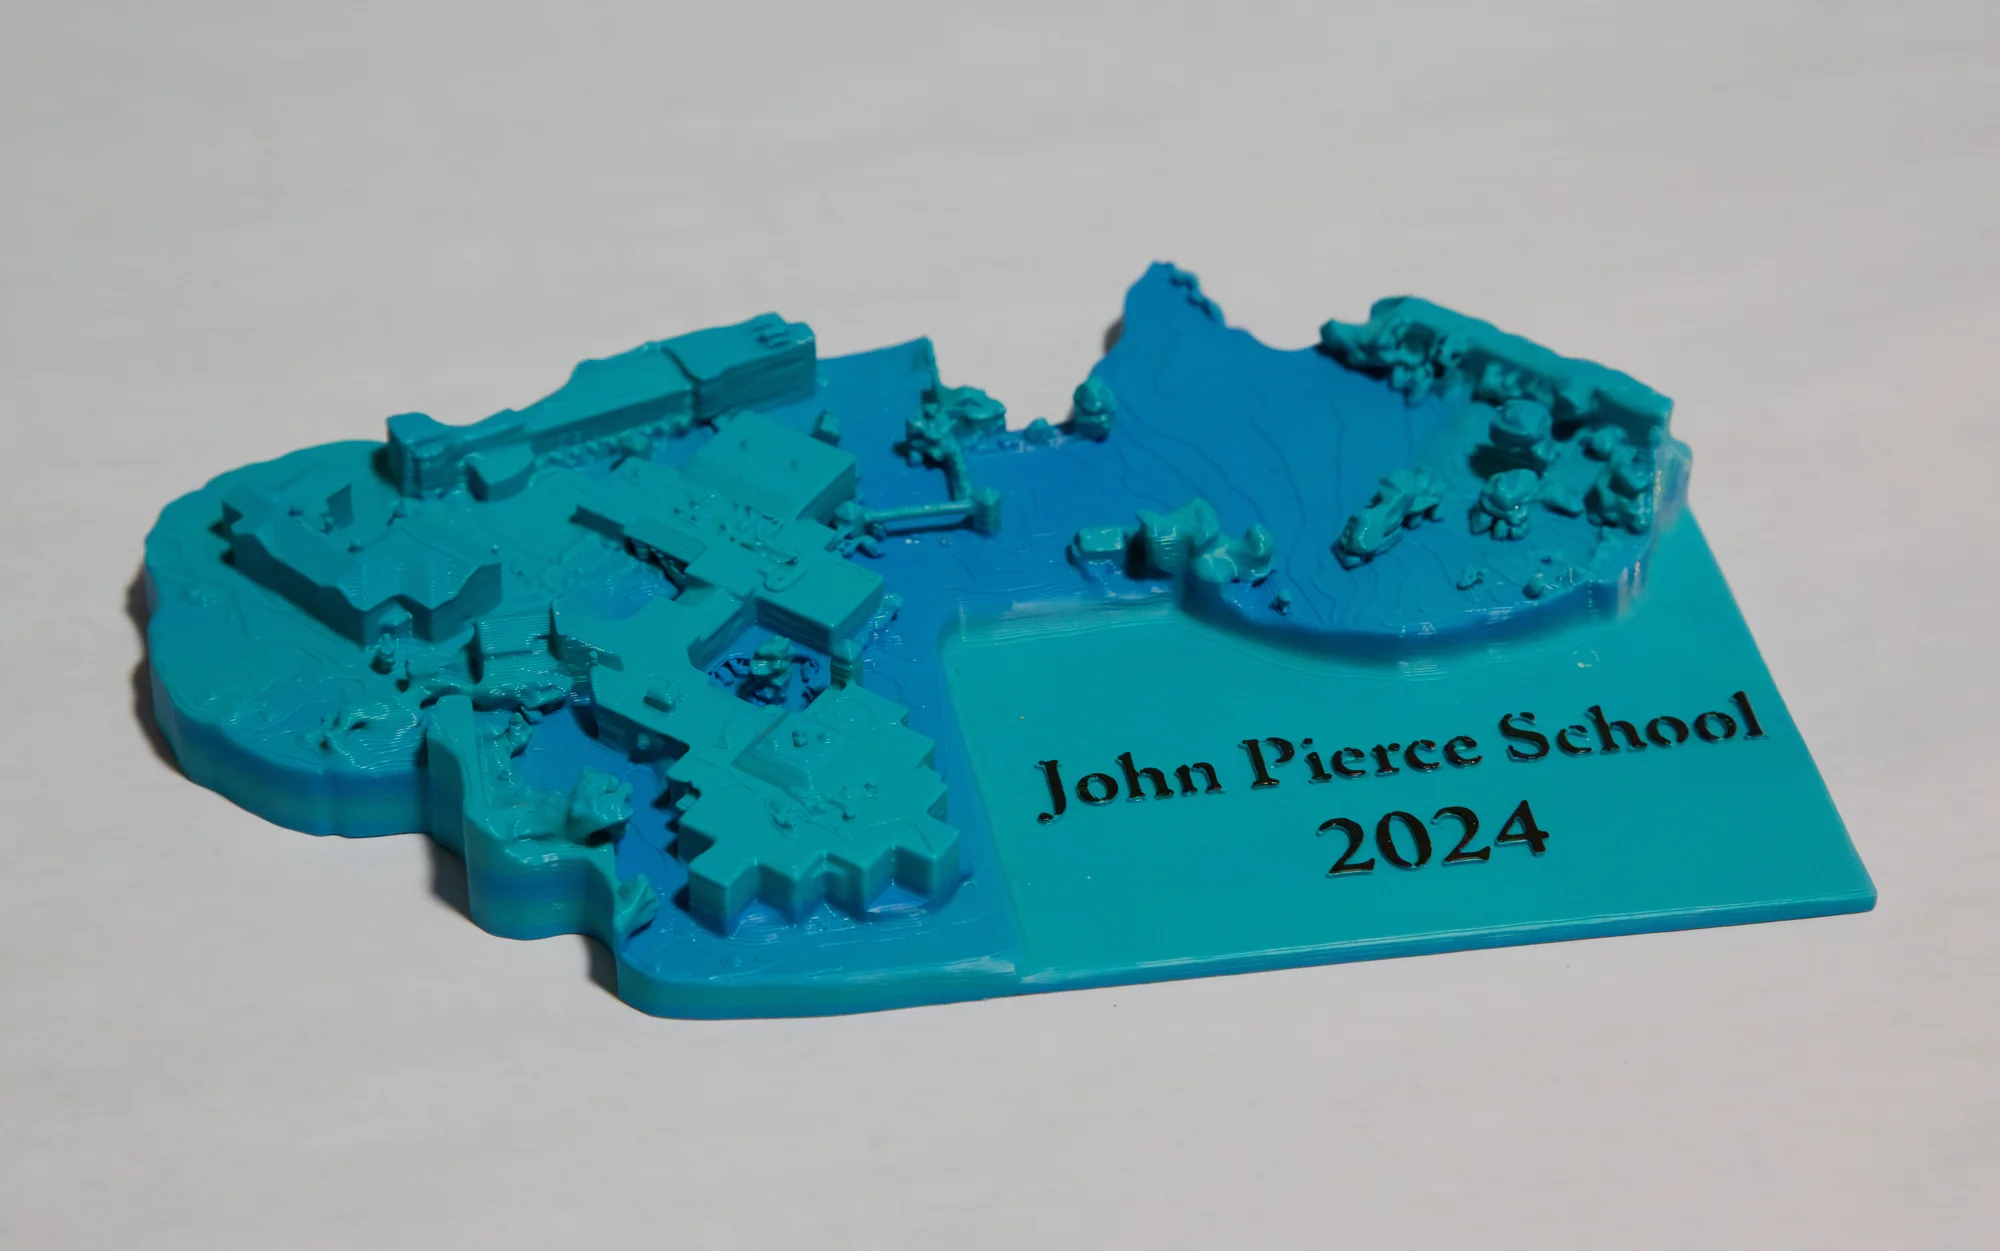
The final, full campus 3D print of Pierce School
Further Work
Once we had printed a few models, which all turned out well, we started to think of what else we could do for this project. One of our main goals at the start was to create a way for all of us, and as many others as possible, to remember the school we spent years in. We decided the best way for us to do this was to run a fundraiser where we sold both versions of the model, so we reached out to the PTO. They thought it was a pretty cool idea, and were willing to take orders for us to print (we thought it would be best to print them as people wanted them, even if it took a little longer to get the models to them). In the end, we made 11 prints in total, which, for a completely random project, I was more than happy with.
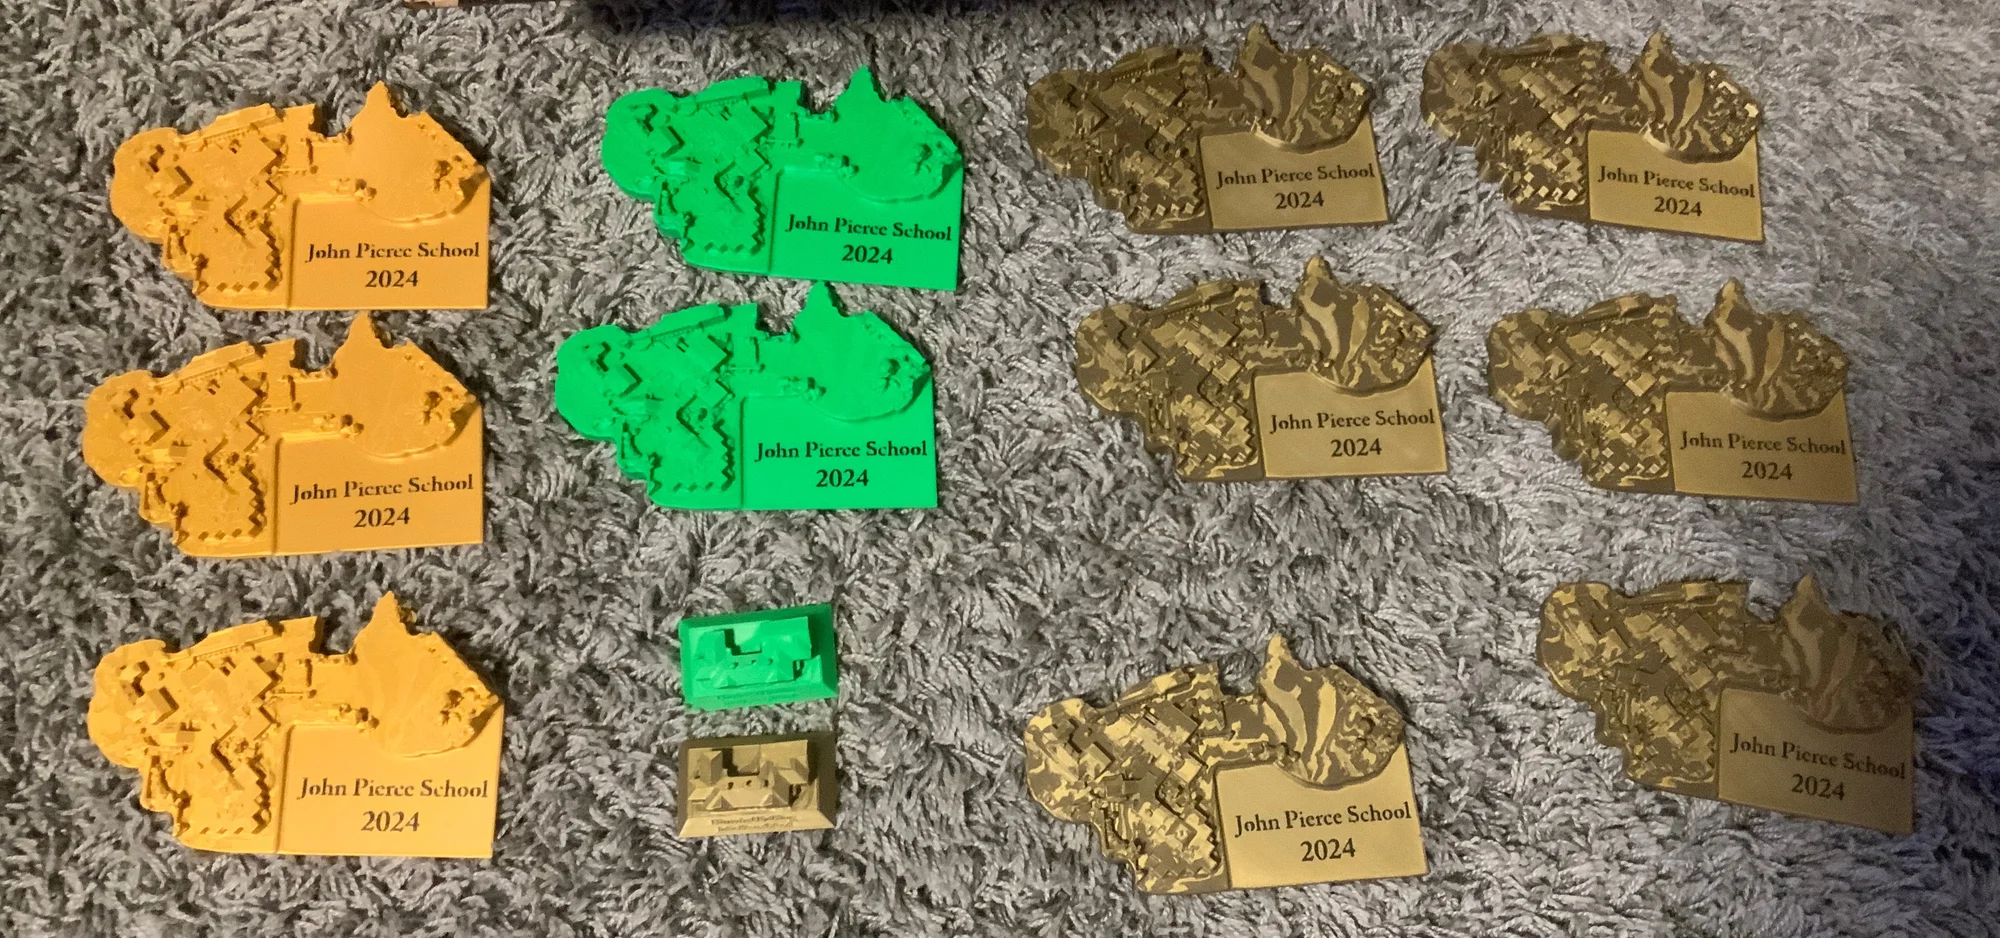
A few of the prints we made for the PTO
I think this project was one of the cooler things I've done! It was super fun to take all the pictures, and while the post-processing was tedious and not always rewarding, I am extremely happy with the end results. My favorite part of this project was definitely the 3D printed models, it was awesome to see the project come together, and become something tangible and physical. I have also been working on a process called gaussian splatting, which creates a even more realistic model which can be rendered in real time on a website. I am hoping to eventually get this working, but it might be a while.
Online Viewer (V2)
While I was happy with what we had done on this project, I was never fully satisfied with the itch.io version of the model we got up. This led me to first of all, start working on another model generated with all the bad photos removed (there were some very blurry ones included in the original model) and using a different software. This new model is still being worked on, mainly bottlenecked by the amount of processing power I have available (it can take days to do a single step in the process, meaning I can't really iterate or prototype). Additionally, I started to look for a better way to host the model online, ideally without compromising on quality.
After over a year and a half of intermittent periods of working on this project, I found Cesium Ion, which seemed promising. It is a service that can split up a 3D model into many different chunks of varying qualities, and intelligently send each chunk as the model is zoomed in on. I was able to upload the model and get it processed pretty quickly. While it is not always able to be the best quality while zoomed out, due to browser limitations and a data streaming limit on the free version, if you zoom in enough it will get to the original resolution. There are some seams where the model was split, but they are not terrible. I'm much happier with this version of the online viewer, and you can view the demo right on this website.
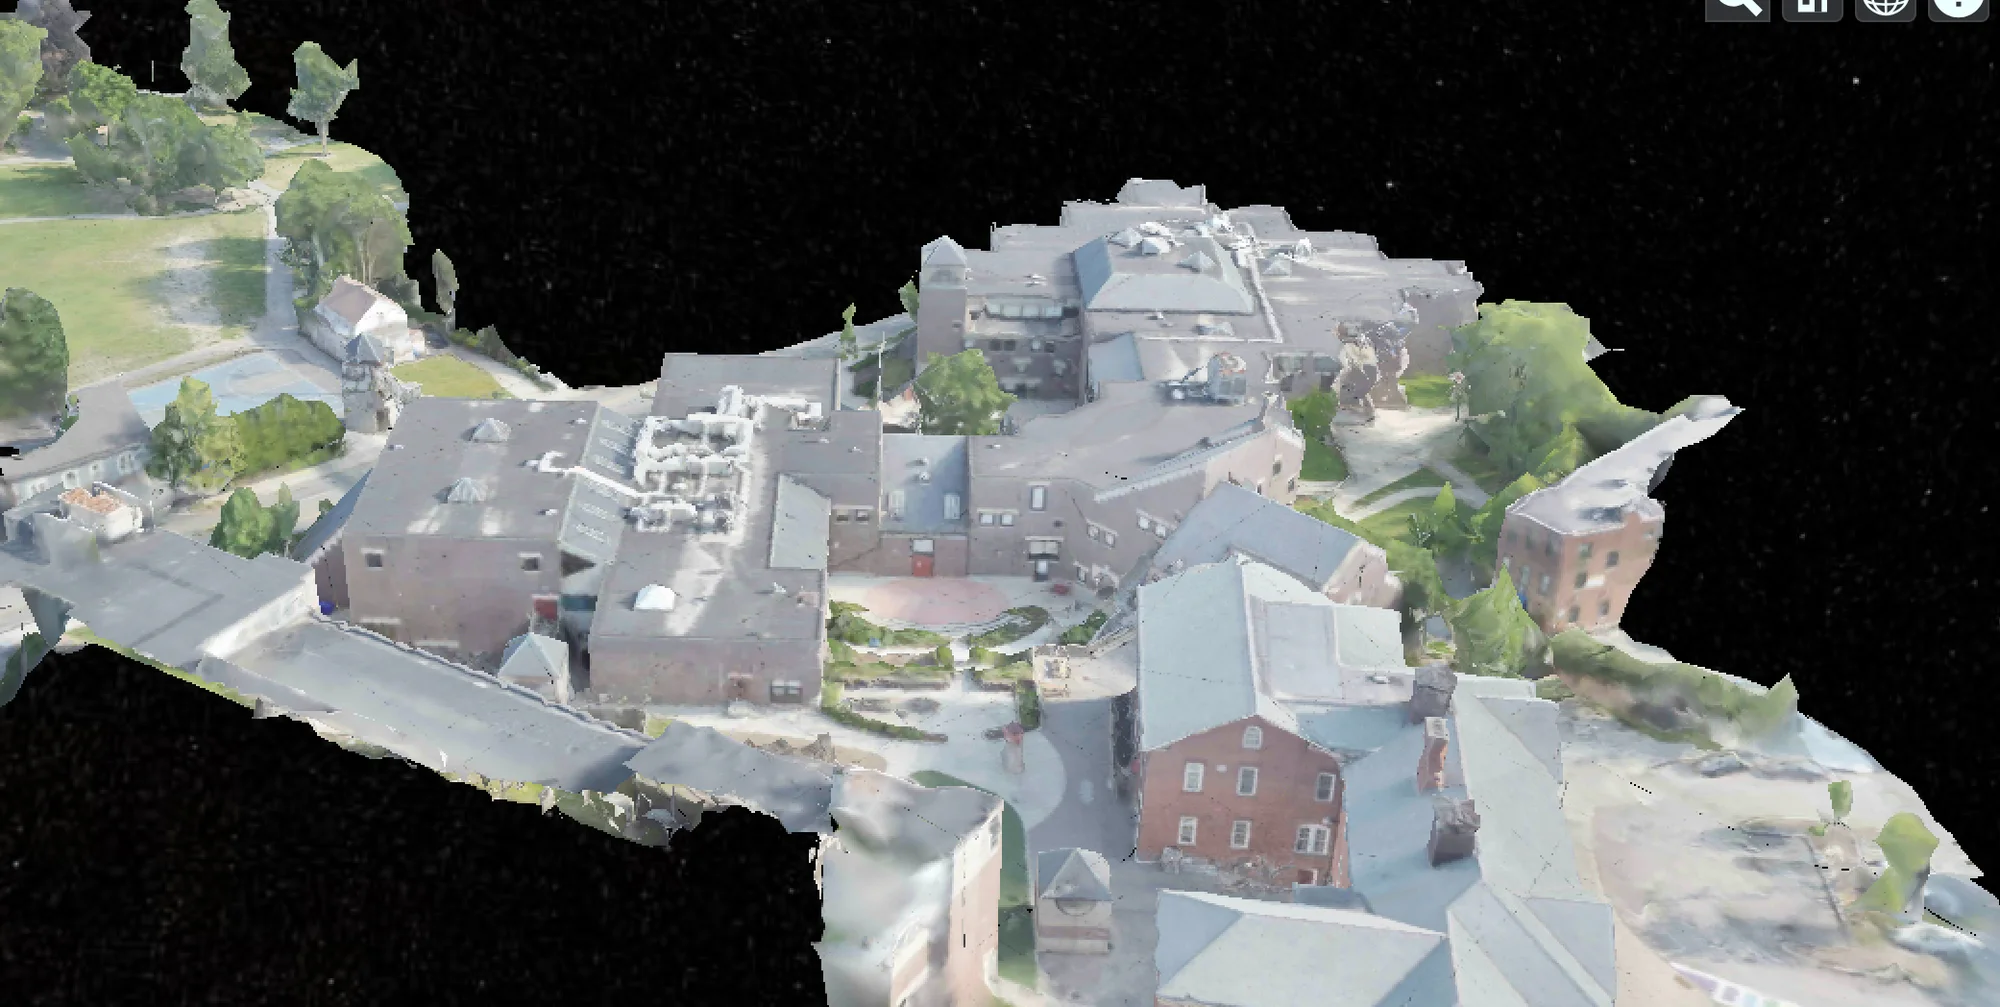
An example view of the Cesium Ion demo